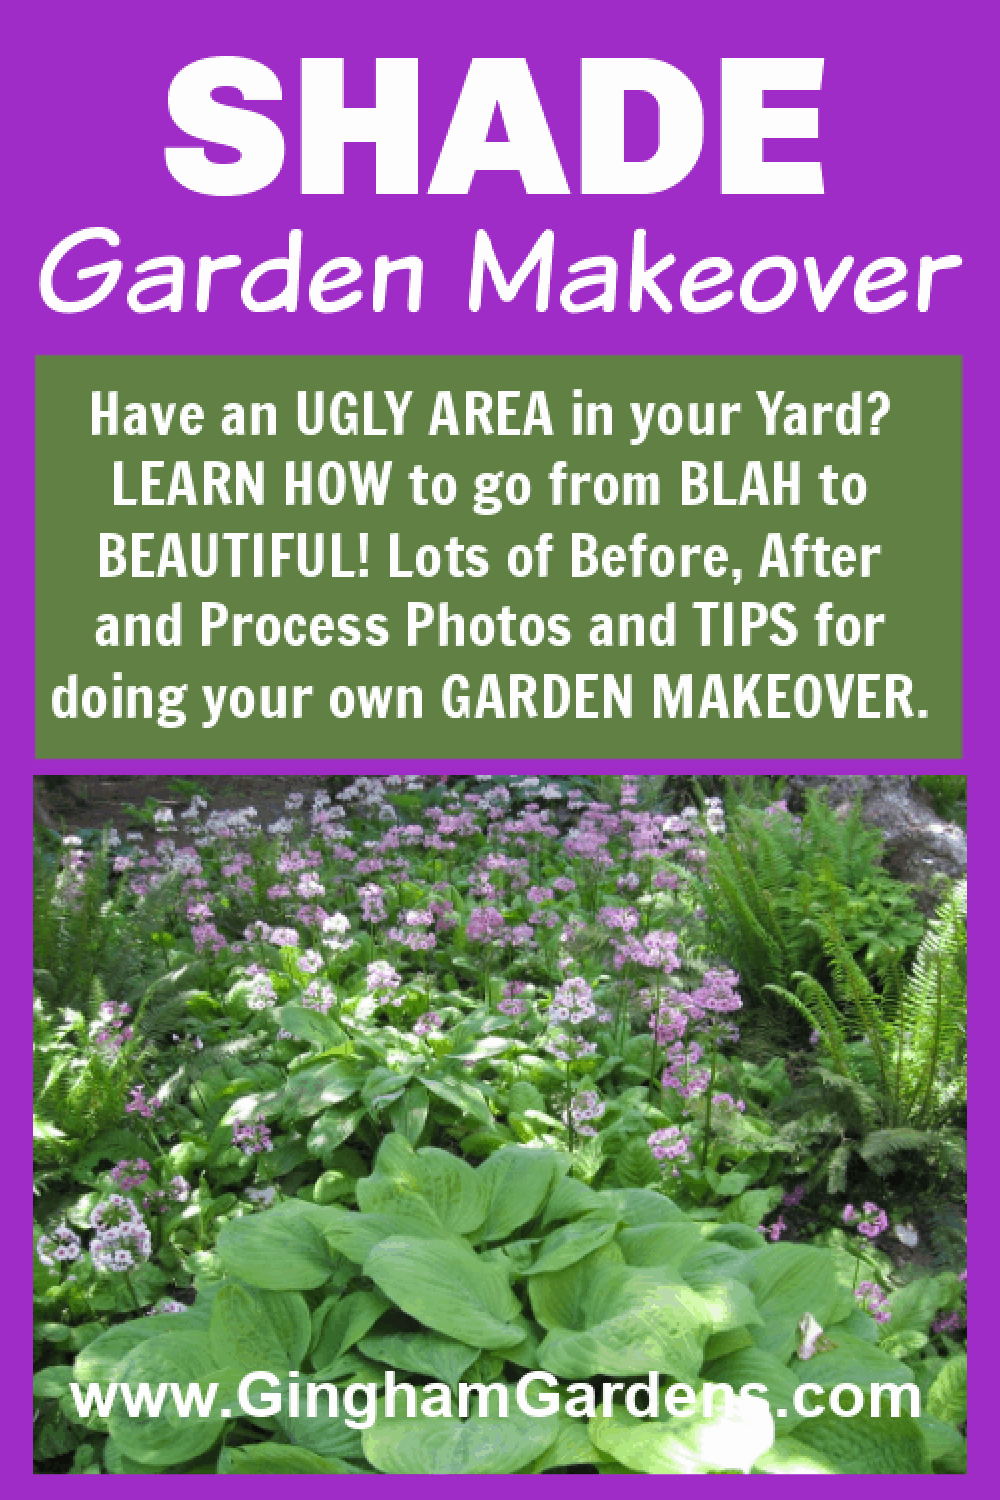
Shade Garden Makeover
I’ve been so eager to share another garden makeover, but wanted to wait on this one until it was just right. Best part, this Shade Garden Makeover comes with a Fire Pit area. Just a little background on our fixer upper yard. We moved into our current fixer upper home in August of 2016. So this is just our second full summer fixing up different areas of the yard.
This post contains affiliate links. If you click on
one of the links and make a purchase,
I may receive a small commission at no additional cost to you.
See full disclosure here.
Below is what this area looked like when we moved in. Definitely not as hideous as some of the other areas in the yard, so it was bumped down a little on the priority list. We did like the fire pit area, but I just had a different vision for it. I can see this area from my kitchen window and I didn’t really like what I saw and dreamed of what it could be.


A few weeks after we moved in, I did start the process of killing off the grass and weeds by laying down cardboard and layering it with grass and leaf clippings. Also later in the summer and fall, I plopped in some hostas that I had rescued from full sun areas in the yard. The following spring, more hostas were added.
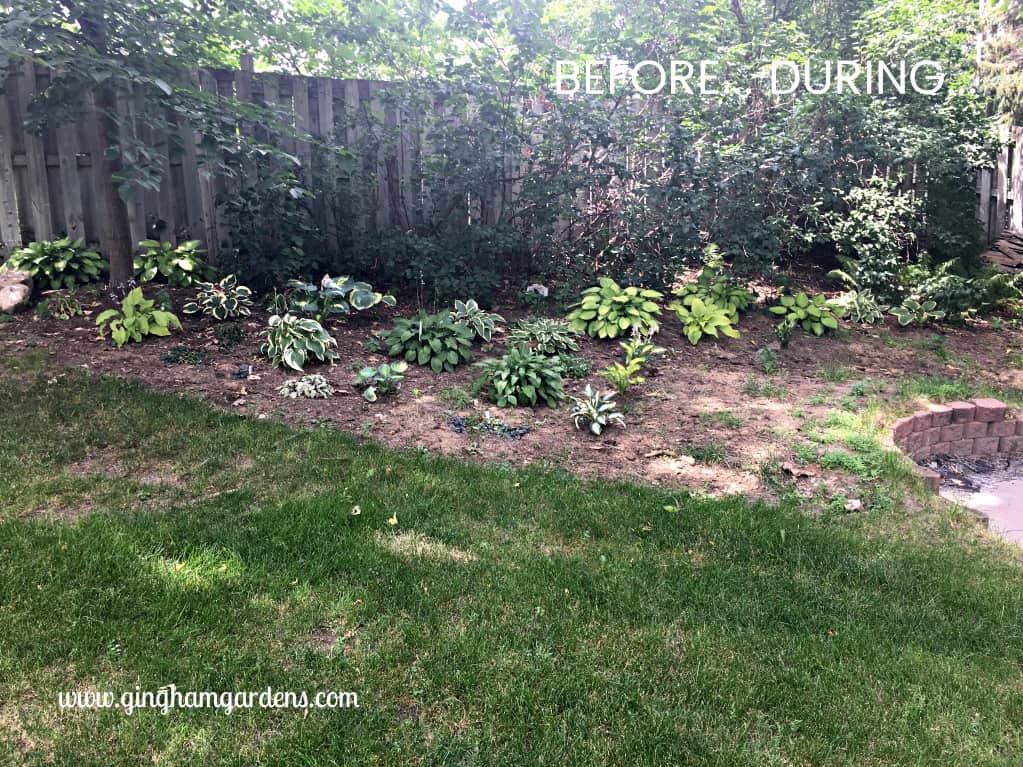
I then moved on to other projects and ignored this area all last summer. I can’t believe I’m showing the next pictures, but I’m keeping it real and this is one of those projects that went from looking okay to looking pretty bad before it got better.

Another angle of the ugliness. I feel sorry for all those neglected hostas.
Supplies – Shade Garden Makeover
- Shovel (I really love this shovel, and even though I have the pink one, I’ve caught my man using it too. Guys, it does come in other more masculine colors. It’s lightweight, but very sturdy and sharp.)
- Gloves (These are my favorite for heavy duty jobs.)
- Landscape Fabric
- Pea Gravel
- Field Stones (Free from construction sites)
- Wheelbarrow
- Plants
When I have a vision for something, it just nags at me until I get it done. So this spring, I knew it was going to be a priority project. Here are the basic steps we followed.
Steps – Shade Garden Makeover
- First of all we did lots of clean up in this area, like trimming the lilac bushes and moving the wood piles. And an overall, good weeding of the entire area.
- Next, we used our handy little tiller (very similar to this one) to break up the very compacted soil around the top of the fire pit area.
- Then we removed a couple of inches of soil to level the area out.
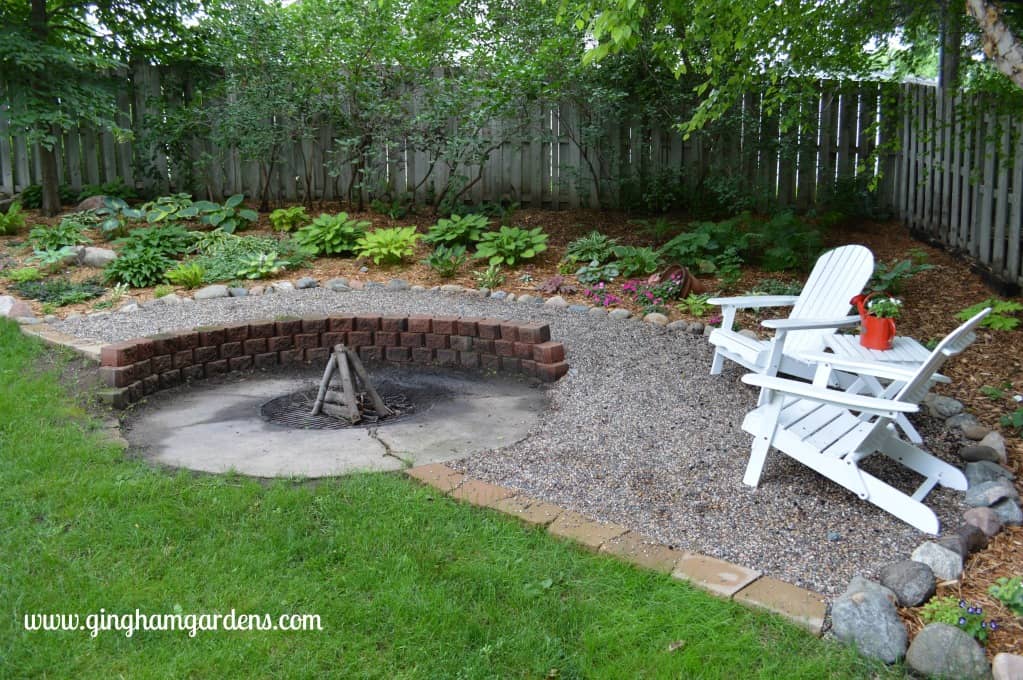
- We then added landscape fabric as a weed barrier, just to the area where the pea gravel would go. I do not recommend adding landscape fabric to any area where you will be planting.
- Next came a border of field stones to separate the mulched, planted area from the seating area.
- Then we added a good layer of pea gravel to the walking path area and a good layer of mulch to the plant area.
Shade Garden Makeover – After
Drum roll… here is the finished Shade Garden Makeover. I really couldn’t be happier with the way it turned out. It’s a peaceful, serene area, where we can take a break in the shade from our garden chores. Plus, we’re looking forward to many bonfires with family and friends here.

For more gardening goodness, I invite you to join us here at Gingham Gardens:
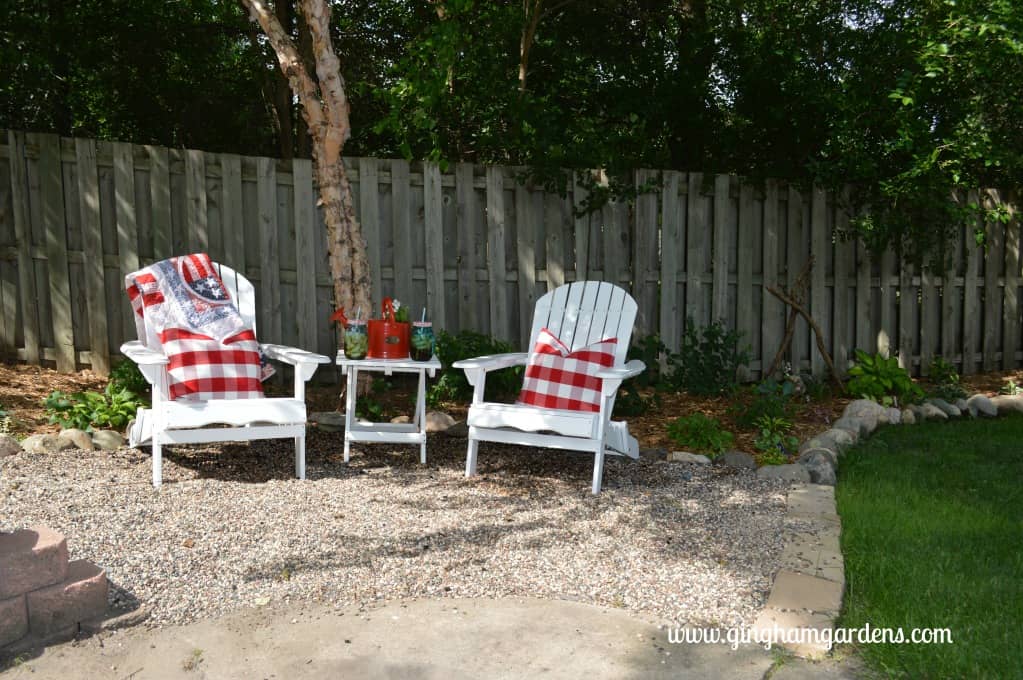
Here is another angle.
We love these adirondack chairs. Solid and easy to assemble, and they fold for easy storage.

After all that work, we’re ready to take a little break with a mug of ice tea.
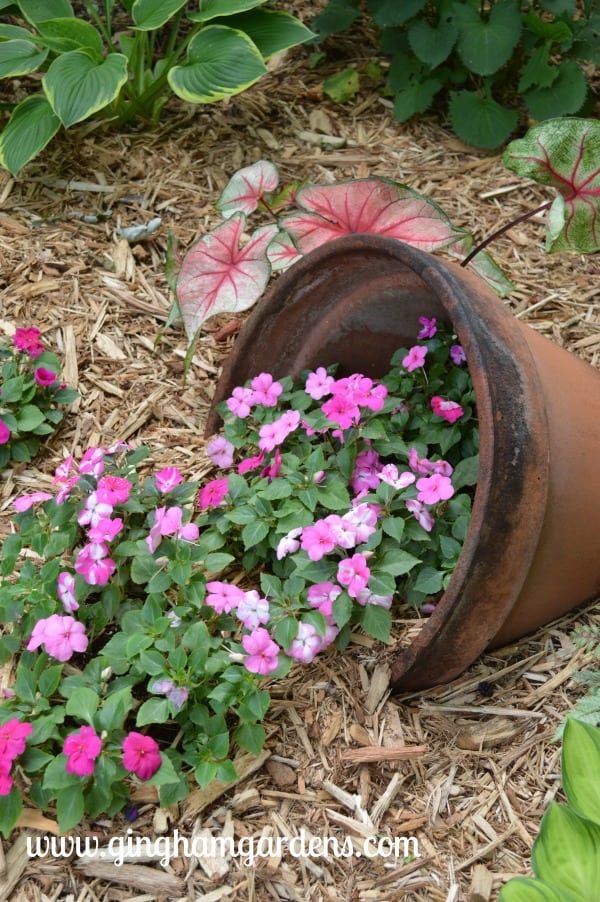
Here’s a close up of the tipped over clay pot with impatiens spilling out. I love putting together stuff like this.
If you’d like some simple instructions for creating your own tipsy planter, check out this article I wrote for Hometalk.
In case you haven’t already seen them, here are some of the other garden makeovers – Flower Garden Makeover – Before and After, Tiered Garden Makeover, Another Garden Makeover and Small Shade Garden Transformation.
If you need a full tutorial on redoing or making over one of your flower gardens, How to Makeover a Flower Garden, is the post for you.
Thanks a bunch for stopping by Gingham Gardens today. I hope you enjoyed the reveal of our Shade Garden Makeover. Do you have a garden area you want to makeover? If you have any questions or comments, you can use the contact form or you can leave a comment at the bottom of the post.
Happy gardening,
Julie
p.s. Follow Gingham Gardens on Pinterest for lots of great gardening ideas and tons of gardener’s eye candy.
p.p.s. You can pin these pictures by hovering in the upper left-hand corner. Pin away (except the ugly ones)! There are a few collage pins at the bottom of the page. Thanks a bunch!
Shop the look:
Share on Pinterest: