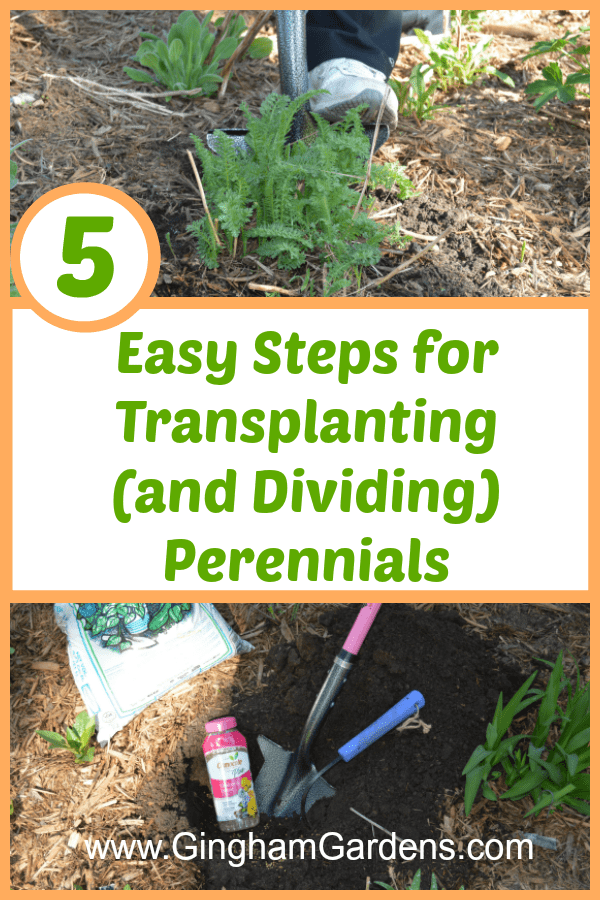
Tips for Dividing and Transplanting Perennials
Do you ever look at a plant and think, “why in the world did I put that plant there”, or “how did that plant get there”. The beauty of perennial gardening is that you can very easily move plants around. I rearrange my gardens like I rearrange furniture; every year striving for that perfect combination. Transplanting perennials is one of my favorite parts of gardening and it’s so fun. Plus, when your perennials get big enough they can be divided, so that their beauty can be shared or spread around your own gardens.
This post contains affiliate links. If you click on
one of the links and make a purchase,
I may receive a small commission at no additional cost to you.
See full disclosure here.
Supply List for Transplanting & Dividing Perennials
Shovel (This one ROCKS! Mine is pink, but it comes in other colors too.)
Cultivator (I love my CobraHead)
Knife (This thing cuts through big roots like nothing.)
Graph Paper (print some from the Gardening Resources Library)
Compost
Fertilizer
Water
When is the Best Time of the Year to Transplant Perennials
The best time to transplant and/or divide perennials, is on a cool overcast day in the spring or fall, so that the plants have a better recovery. If you do decide to transplant in the fall, be sure to give your new transplant about six weeks to settle into it’s new home before heavy frost.
Be aware that some plants may not bloom the year you transplant them. A few good examples of this are peonies and irises. Also, some plants are much easier to transplant in the spring just as they are emerging from the ground. For instance, if you transplant a hosta in the spring when the tips are just emerging and it hasn’t leafed out yet, its much easier to keep from damaging the plant.
That being said, most perennials are fairly resilient and will eventually recover no matter when they are transplanted.
Garden Design Planning and Transplanting
Although, it’s super fun to rearrange in your head and with your shovel, I would encourage you to take some time to sketch out your garden design and make a plan of which plants you want to move and where you want to relocate them to. In case you missed it, check out my post, Flower Garden Design Tips. It will save lots of time in the long run (note to self).
How to Transplant Perennials
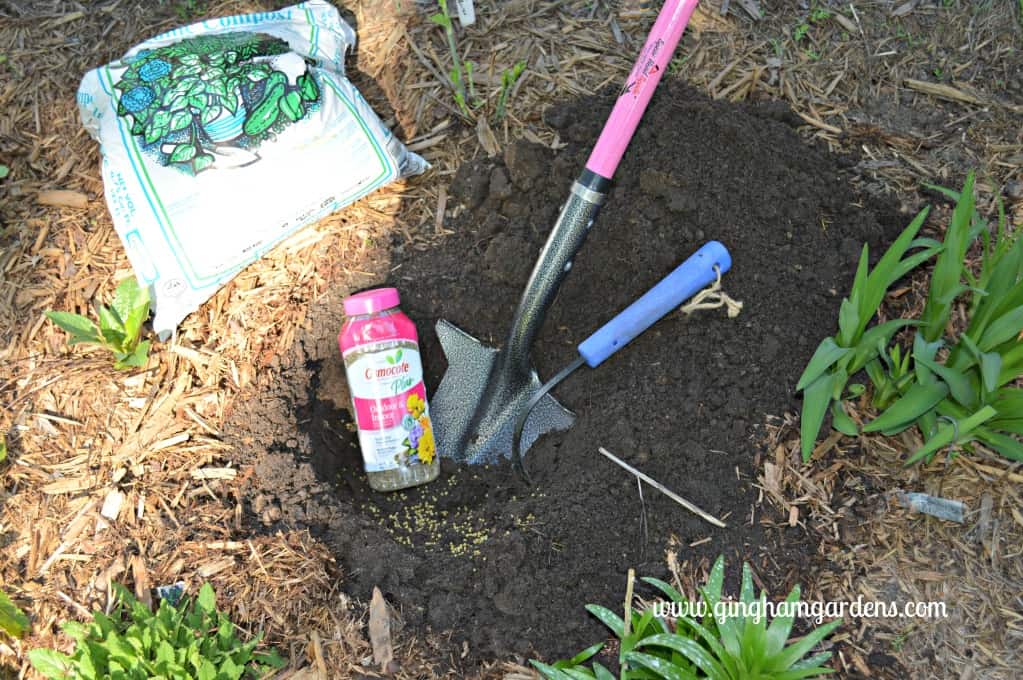
First prepare the hole for your plant’s new home. Simply dig a hole and go big, larger than you think you will need. Loosen up the soil in the bottom of the hole and around the edges. Next fill the hole with water and let it drain. Add in some compost if you have lousy soil. I usually mix in some Osmocote or some other type of slow release fertilizer. Be sure to mix the fertilizer into the soil, so it doesn’t burn the roots of the new transplant.
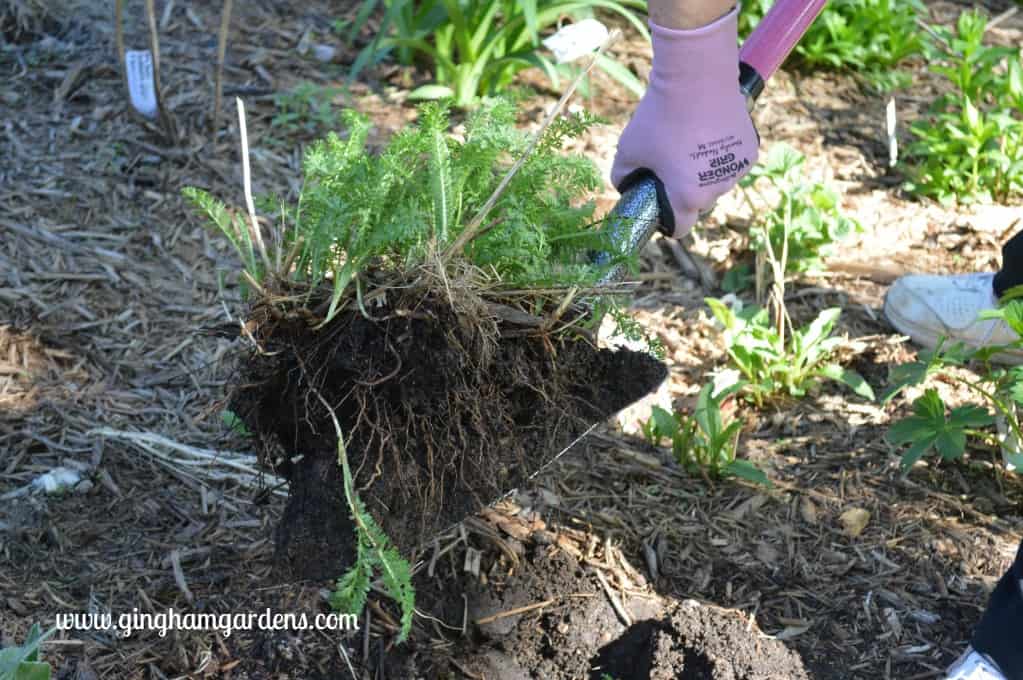
The next step, is to dig up the plant that needs to be moved. Simply make a circle (use your shovel, or a stick, or your imagination) approximately 6 inches (this depends on the size of the plant) from the base of the plant and beginning digging around the plant. The idea is to go deep and wide in order to get all the roots. Some plants, like daylilies and hosta have huge root systems, so you’ll need to take that into account.
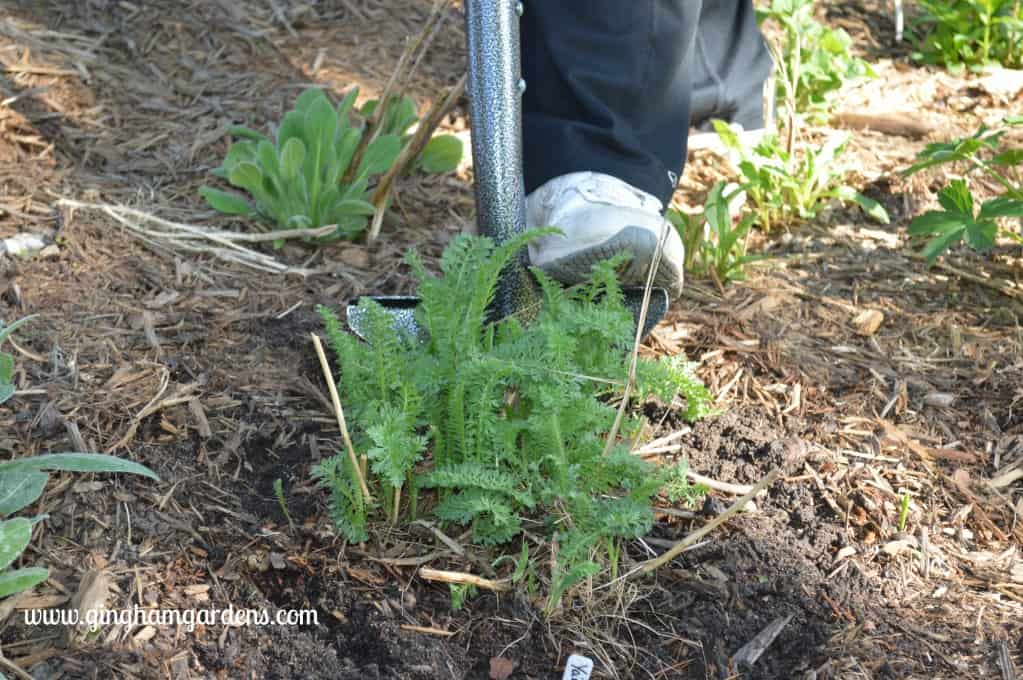
Once you have your plant dug up and divided if necessary, and its new home dug, it’s time to replant. Place the perennial in it’s new hole, testing out the size. Make the hole bigger if needed. You want the roots to be able to spread out, so make sure the soil is loose and not compacted. Back fill the hole around the plant, adding in compost if your soil isn’t the greatest.
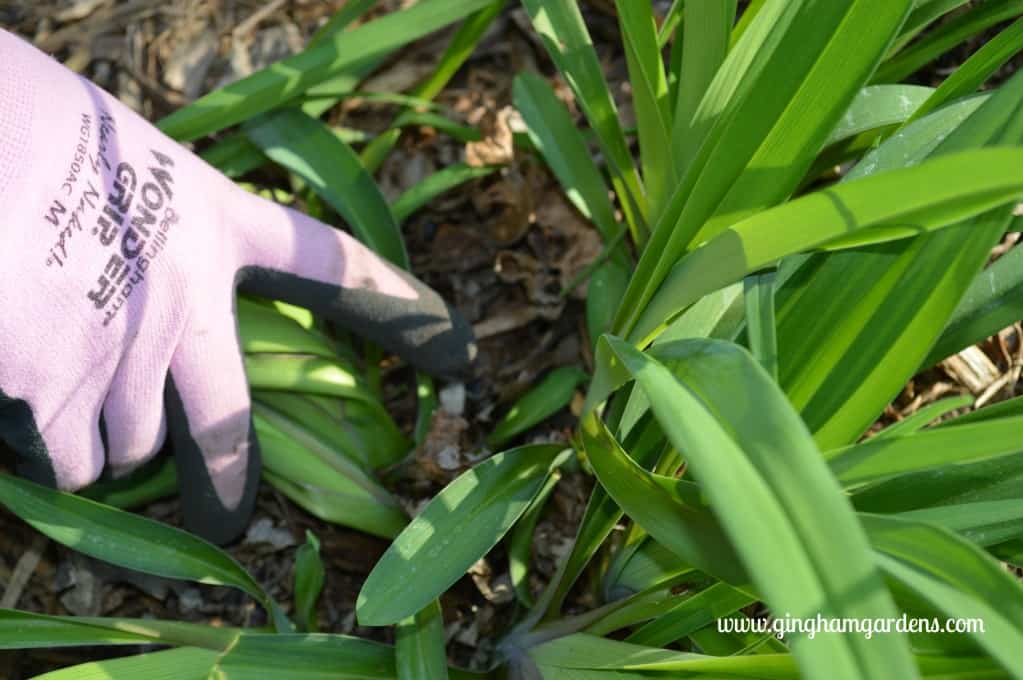
How to Divide Perennials
If they have room, most perennials can grow for years and years without needing to be divided. You can usually tell if a plant is getting overcrowded. A few indications of overcrowding are fewer blooms or smaller blooms, or only the outsides of the plant produce flowers. Also, if you have perennials like irises, yarrow, sedum, salvia and many more varieties that are really floppy, chances are it’s time to divide those plants.
To divide a plant, dig it up just like the instructions above. Then loosen up the soil and roots with your hands. It the root ball is too compacted, this tool works great to loosen the roots and separate them. Then simply break or cut the plant into pieces from the crown down. In the picture of the daylily below, it’s easy to see how to divide up the plant and where to cut. Simply separate sections of the plant and using a sharp knife, cut down through the crown of the plant and roots. This hori hori knife will cut right through the biggest, toughest crowns of plants like hosta or daylilies.
A Few More Tips for Transplanting Perennials
If you’re doing a massive overhaul, or transplanting several plants at once, I find its easier to dig all the plants first and place them in a makeshift holding station in the shade. Be sure to keep the roots moist.
I recently had a reader recommend a garden fork for transplanting perennials and other gardening tasks. Also a favorite local daylily farm uses a garden fork for digging up their plants. It is my understanding that the fork doesn’t damage the roots and you’re less likely to cut roots than when using a shovel. I recently purchased this one to use this year and I’m excited to see if it works better than my shovel method for transplanting. Do you use a garden fork for transplanting?
To help avoid transplant shock you can use SUPERthrive (4oz) to mix with water as instructed for the first watering. After this be sure to keep your plant well watered with normal water over the next few weeks. It’s best to give it a deep soaking (rather than shallow watering) every other day, especially during dry spells. You want the roots of the new transplant to begin to reach down into the ground for moisture and not depend on you for it’s water source. I hope that makes sense.
Once you’ve finished transplanting perennials, adding in new perennials and annuals, I would highly recommend adding a thick layer of mulch over your entire garden. As well as making your flower garden look great, it helps keep weeds down and helps the soil retain moisture. As mulch breaks down, it also helps to fortify your garden soil.
Need a Reminder of this Post for Later Reference?
Just pin to one of your gardening boards on Pinterest.
There are more pins to share at the bottom of the post.
What to Expect After Transplanting Perennials
You’re plant may look a little worse for wear for a few days after it’s been moved to it’s new home, but don’t despair, it will eventually perk up. That sad look is referred to as transplant shock. This is where the SUPERthrive is extremely useful in combating the effects of transplanting. Just be sure to give it plenty of water. Also if the plant is in the sun, create some shade for it. You can do this with an old umbrella, by turning a chair upside down over it, or creating a tent over it. Just baby it along and it will be fine.
I’ve divided and transplanted hundreds of plants over the years and I don’t believe I’ve ever lost one. Like I said, perennials are pretty resilient and usually recover from being transplanted. If they don’t look great the first year, they will the next year.
Here are some other articles I think you’ll enjoy:
How to Attract Pollinators to Your Garden
14 Plants You Don’t Want In Your Garden – Even If They Are Free
Essential Gardening Tools
Creating & Caring for a Low Maintenance Flower Garden
How to Grow & Care For Lilies
Flower Gardening 101
Flower Garden Design Tips
Are you inspired now to transplant some perennials in your gardens? Do you have plants in your gardens that need to be divided? I’d love to hear from you and know what you’re up to in your gardens this year, so leave a comment below. Also, if you have a gardening question, I’ll try to help.
Feel free to hang out in the gardens for a bit and make yourself at home!
Happy gardening,
Julie
p.s. Follow Gingham Gardens on Pinterest for lots of great gardening ideas and tons of gardener’s eye candy. Gingham Gardens is on Facebook too! Pop over and say hello.
p.p.s. You can pin these pictures by hovering in the upper left-hand corner. Pin away!
More pins to share: