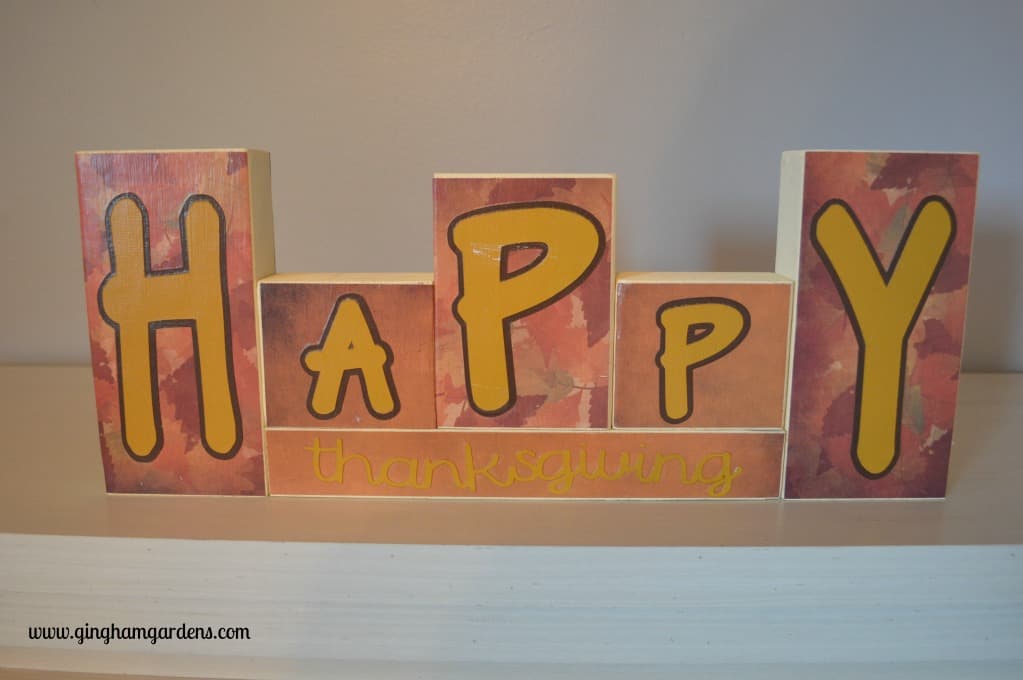
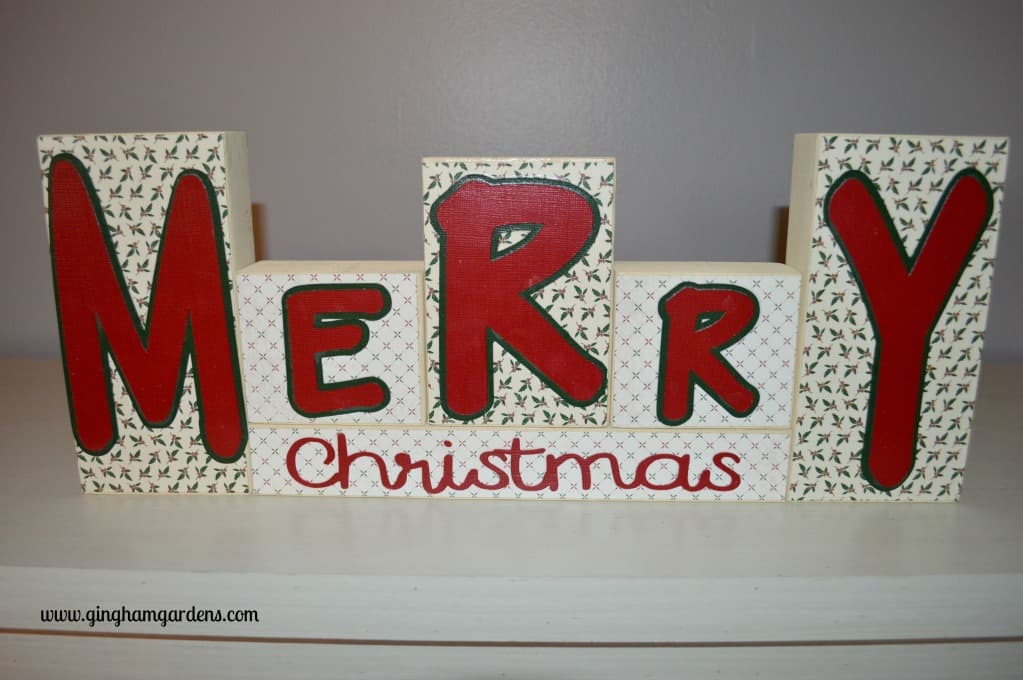
Reversible Holiday Blocks
Today I’m sharing a fun and easy craft project – Reversible Holiday Blocks. There are tons of these on Pinterest and that’s where I originally came up with the idea. I actually did this a few years ago and did not save the link to the initial pin that caught my eye, so unfortunately I cannot give credit where it is due. I love projects that cover two holidays in one and these reversible holiday blocks do just that.
This post contains affiliate links. See my full disclosure here.
Supplies Needed:
- Wood Blocks (a total of 6 cut from 2x4s or 1.5×3.5s) –
- 1 – 1.5″ x 1.5″ x 10.5″
- 2 – 3.5″ x 7″ blocks
- 2 – 3.5″ x 3″ blocks
- 1 – 3.5″ x 5″ block
- Scrapbook paper (Fall and Christmas themed)
- Modge Podge
- Foam brushes
- Letters cut from Silhouette or Cricut, or Stencils or Stickers
- Craft Paint (I used this)
Steps:
- First, I had my hubby cut the wood for me. We had scrap 2x4s (in the US they are really 1.5×3.5s), but you can easily pick up 2x4s at your local hardware store. Most places have a bin of scraps and some will even cut them for you. Note: you want the width of the 3 middle blocks to add up to the length of the long block that will say “Thanksgiving” or “Christmas”.
- After the wood was cut, I sanded it good, especially the rough ends and wiped it off so there was no left over grit from the sawdust.
- Next I painted it using a foam brush. I used chalk paint, so it dried quickly and then I gave it another coat.
- Next I cut my background paper for each block. I cut my paper a mere 1/8″ smaller than my block. I don’t want to include measurements, in case your blocks are a bit smaller or larger than mine are.
- Then I painted over the back side of the blocks, one at a time, with a coat of Modge Podge, and adhered my background fall paper to the block. I then just smoothed over the paper with another coat of Modge Podge. When that dries, I turn the block over and do the same thing on the other side, only using Christmas background this time. Repeat until all 6 blocks are done on both sides.
- Once the background paper is dry, its time to apply the letters. Apply Modge Podge to the back of the letters, center them up on the block and adhere. Because I am fortunate enough to have both a Cricut Explore and a Silhouette Cameo, I used one of those die cutting machines to make my letters. However, you do not need a die cutting machine to do this craft project. You can use stencils to make your letters, or you can use letter stickers, either will work. After my letters were adhered to the block, I went over the entire front with a thin layer of Modge Podge.
It sounds like a lot of directions, but once you lay everything out, it really is fairly easy, and a perfect project for a gloomy fall day. It’s super cute and fits well into most Thanksgiving and Christmas decor themes.
Thanks for stopping by today and checking out my Reversible Holiday Blocks. Please feel free to share on Pinterest or Facebook. I love it when you do and I love comments too!
Come back soon!
Joanna
Shop for your supplies on Amazon:
I am a participant in the Amazon Services LLC Associates Program,
an affiliate advertising program designed to provide a means to earn fees
by linking to Amazon.com and affiliated sites. If you click on and purchase one of these items,
I may receive compensation at no additional cost to you.


