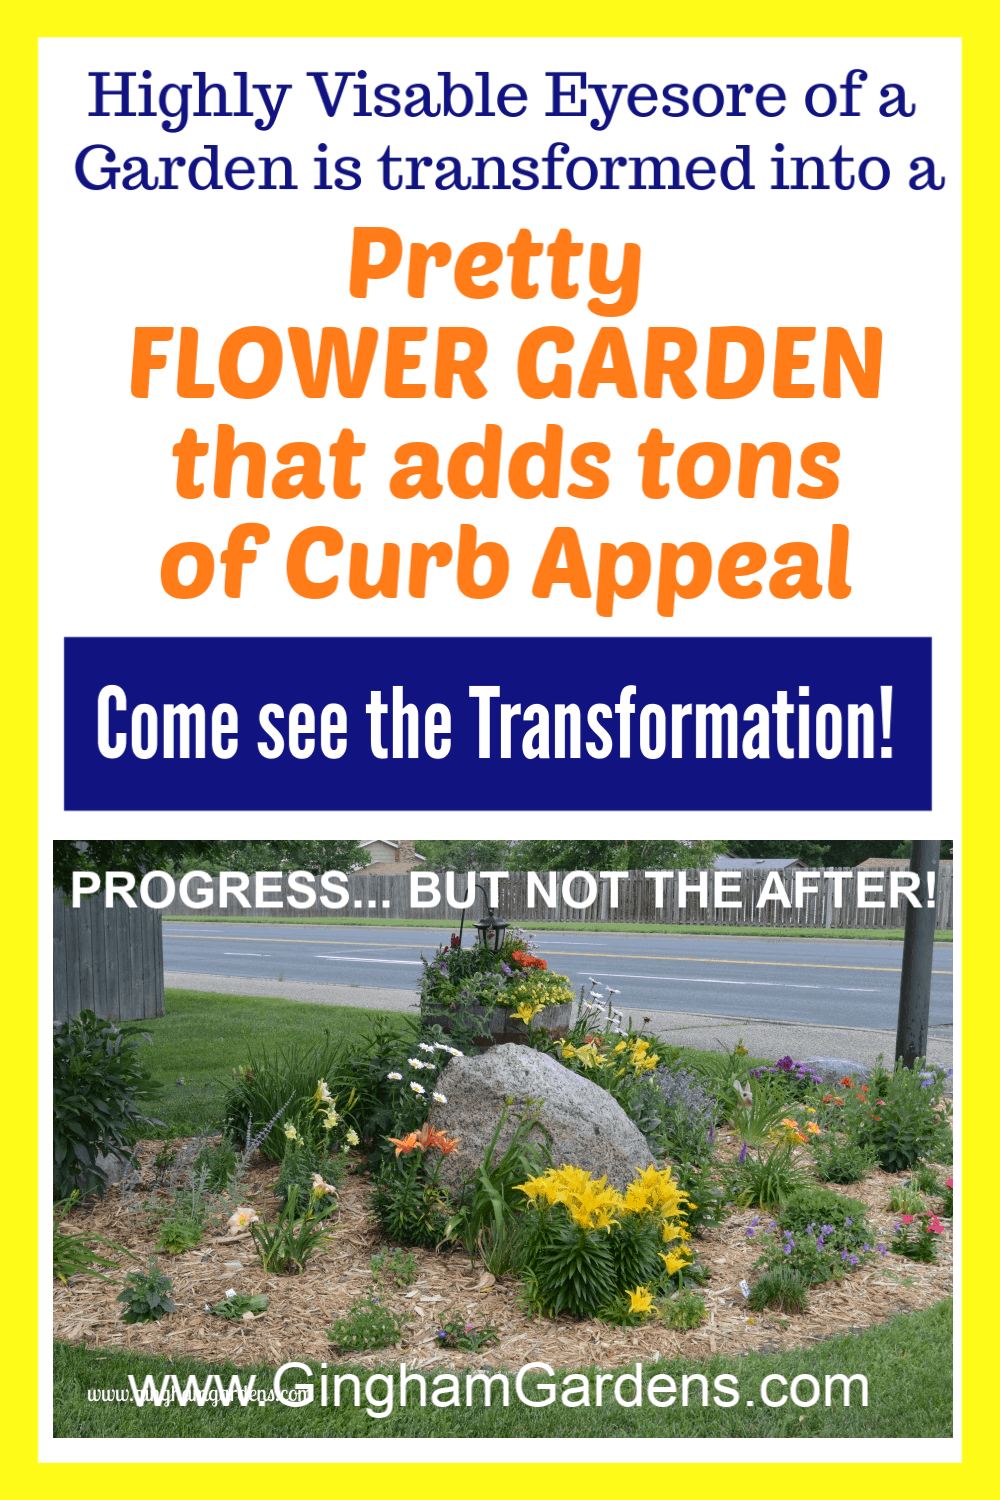
Flower Garden Makeover – Before and After
Today I’m sharing another Flower Garden Makeover, with lots of Before and After photos, as well as photos and details of the process. Do you have an area in your yard that you’ve deemed impossible and you just do your best to ignore it?
This area I’m about to show you was exactly that, except, even though I wanted to, I just couldn’t ignore it. It’s on the front southeast corner of our ½ acre lot. We live on a corner lot and a busy 4-lane road borders one side of our property. This area is very visible in that it’s bordered by our street and this 4-lane road. It’s one of the areas (there were lots of those) when we first looked at the house that I knew I could make beautiful. Little did I know what was ahead. Follow along as I chronicle the two-year progress on this Flower Garden Makeover.
This post contains affiliate links. If you click on
one of the links and make a purchase,
I may receive a small commission
at no additional cost to you. Read full disclosure.
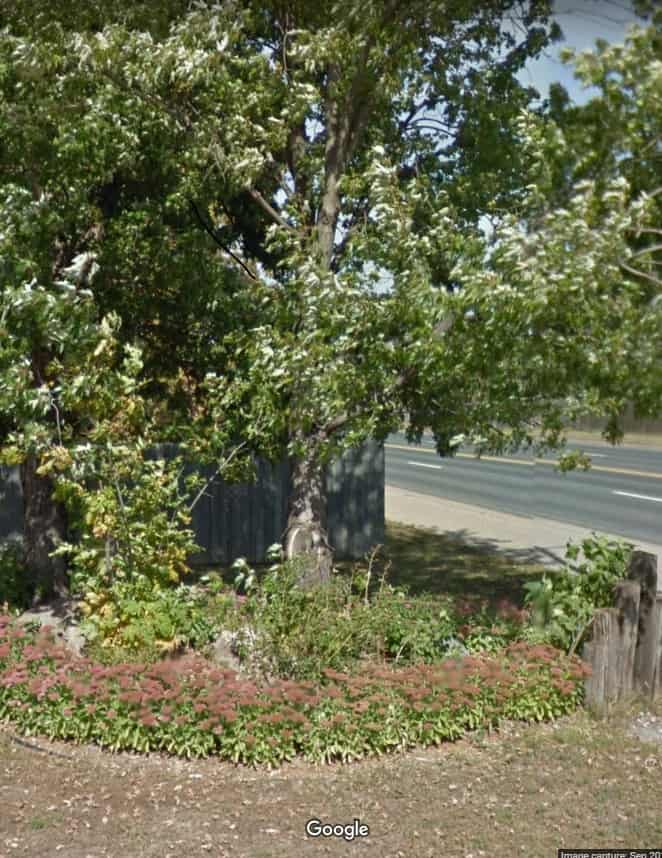
Overgrown Garden – Where to Start
I wish I had taken pictures of this area when we moved in. It was full of waist high weeds and some perennial grasses that were probably pretty several years ago. There was a rose bush that was scraggly and pathetically ugly. There were lots of Irises and Siberian Irises. The entire border of the bed was rimmed with Autumn Joy Sedum, which I like, but not that much. The picture below is from Google from about 5 years ago, so my apologies for the terrible quality. At least you can get an idea of how bad the area looked. Hideous, right?
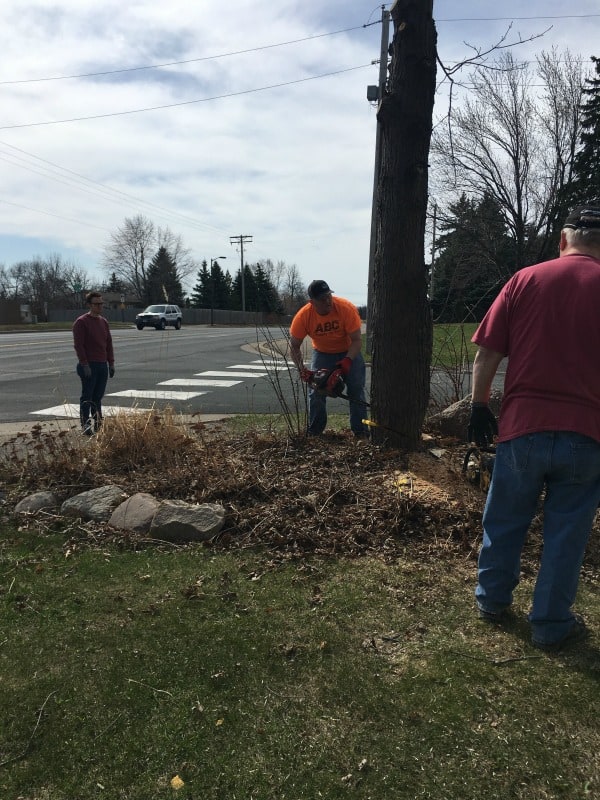
Before I could do anything, the maple tree in the middle of this area needed to come down. It was too close to another tree and it was diseased (as were/are so many trees on our lot). Word to the wise, look at trees when you’re house shopping. It’s expensive to have trees cut down. However, this tree was small enough that the hubby and our boys (they’re really men) could handle cutting it down. This was early in the spring before many of the weeds began to emerge.
Another angle.
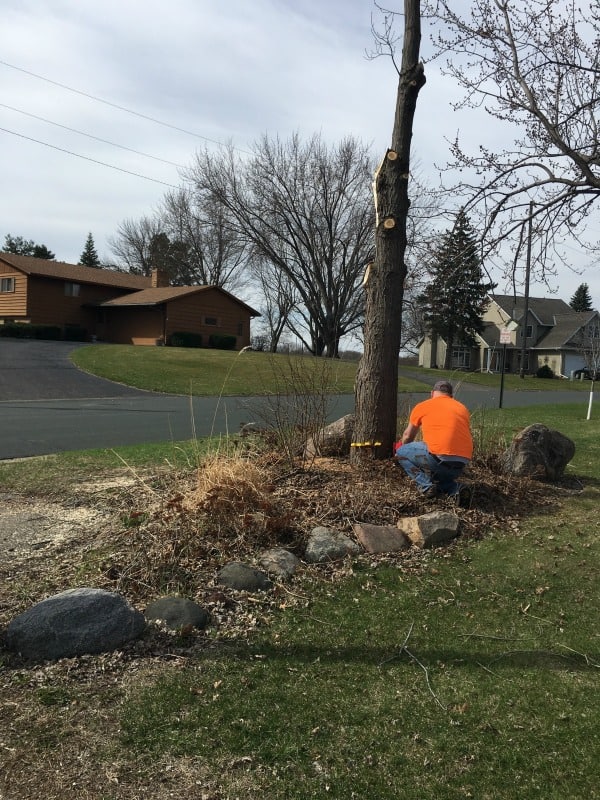
After the tree was cut down, I started the work of removing all the plants and weeds. Holy cow, I had no idea what I was in for. There was a layer of junk, then mulch and then about a 12 inch layer of river rock. Under the river rock was a dreaded layer of landscape fabric. And, tree roots, ugh!
Apparently, to spiff up the bed, the previous owners had covered the mess with mulch. After digging for about 30 – 45 minutes just to free one plant, I knew I was in over my head. I’m stubborn, so for me to admit that, you just have to know it was bad. I begged my hubby to help me and after he worked and worked to free a few plants, he suggested we hire someone to clean the bed out.
Flower Bed Makeover – Progress
It took about 3 or 4 weeks, several hours and more money than I wanted to spend, but it was then at least workable. Once our helper had it cleared as much as he could, we added several inches of compost to the top. It’s still a pain to dig in because I still hit areas where there’s way to much rock and tree roots, but I’m determined. Every time I plant something, I come away with another bucket of river rocks. As I plant, I add in more compost and a slow release fertilizer called Osmocote. After the planting was done and before I added several inches of mulch, I sprinkled Preen in the open areas around the plants.
I got to the place where I just had to get plants in and get the area mulched, so I didn’t have to constantly battle weeds coming up again. This is an area where I’ve basically just planned as I planted. It’s not an area where I had a vision in mind, like my Shade Garden Makeover, nor did I take the time to design it out on paper.
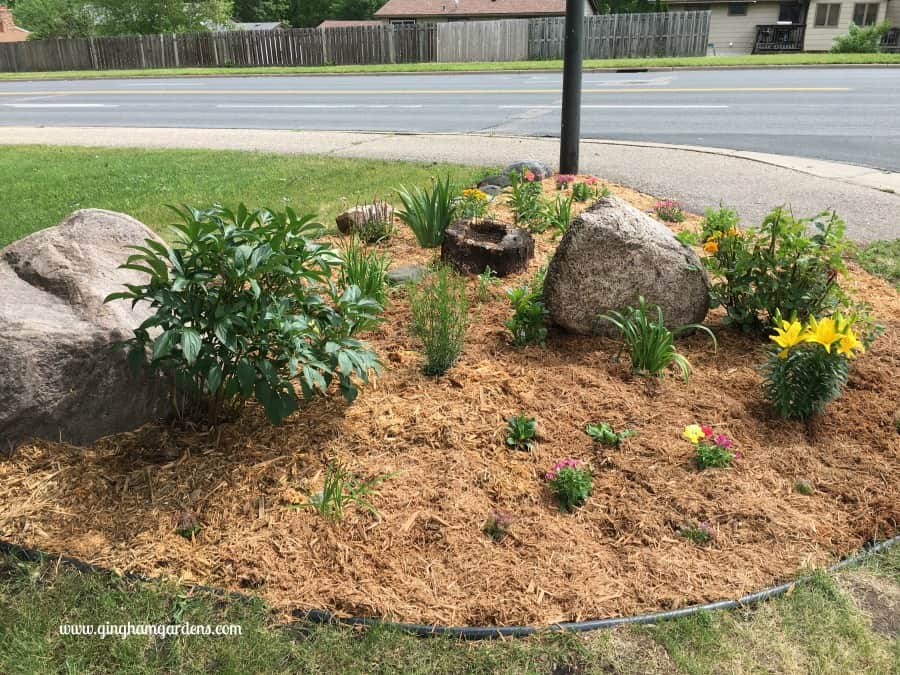
I had to work around two big granite boulders and the tree stump. The granite boulders cannot be moved, but I love them, so I design around them. I left two plants alone that were growing in the weed bed. One is a peony, which is placed okay, with one of the granite boulders as a back drop. The other plant I kept the first year was the rose bush growing in front of the other boulder.

I initially wanted the tree stump hollowed out, so I could use it as a planter, but after working at it for a few hours and breaking a few saw blades, my hubs nixed that idea. I decided to sit my old whiskey barrel planter on top of the tree stump. Notice how the rose bush has gone crazy. Just a thorny bush though and no roses.
Flower Garden Makeover – After
Here’s the bed a few weeks later filling in nicely. Oh, but that ugly, crazy rose bush that doesn’t bloom. It just had to go.
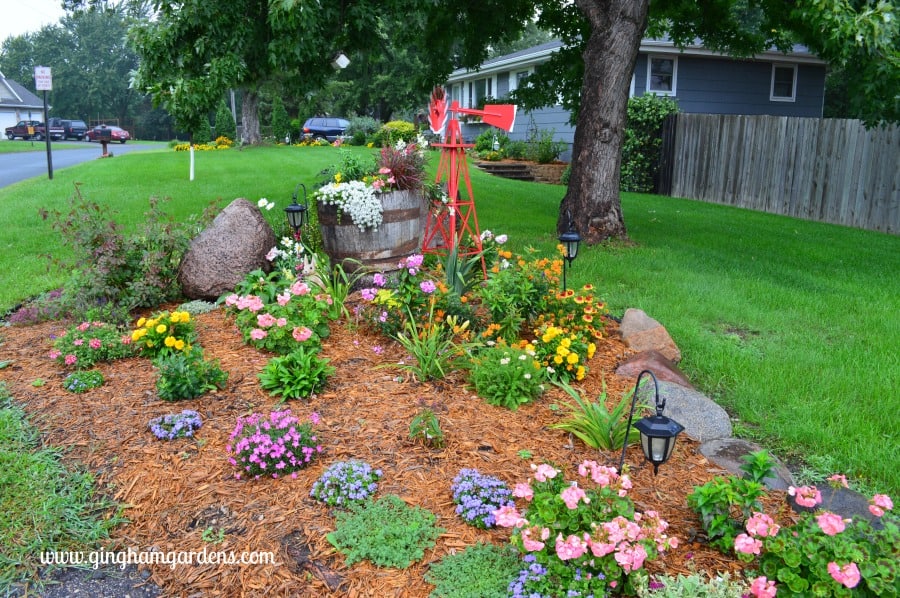
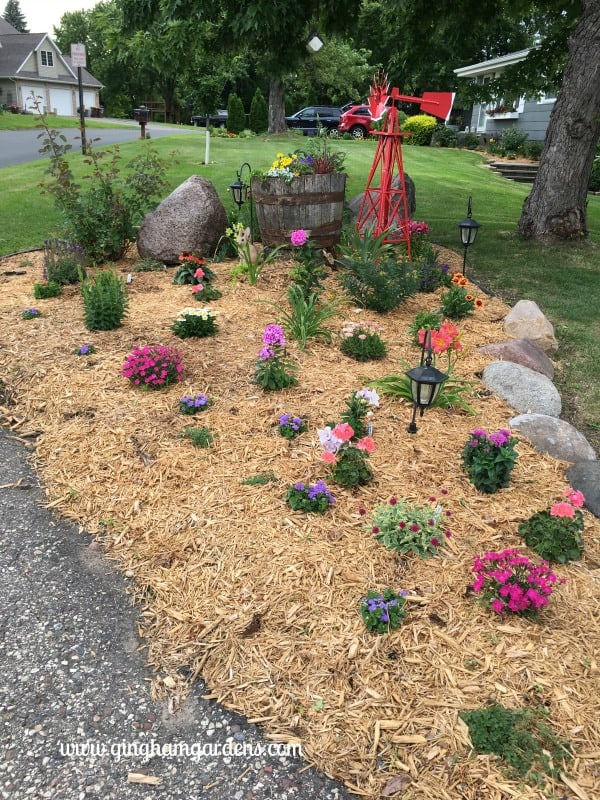
Here are a few of my favorite vignettes from the first year of my Flower Garden Makeover. The whiskey barrel filled in nicely.

Love those granite boulders and my little red windmill.

Year 2 of the Flower Garden Makeover
Okay, on to the second year of my Flower Garden Makeover. Unfortunately, lots of my perennials did not survive our awful winter and spring. We had a deep freeze in November and December before we got snow. Then in April, we had periods of thaw and then deep freeze and snow. I had purchased many of the perennials at local nurseries that guarantee their plants, so I was able to replace most of them.
This year I tried to go with plants that I consider tougher, but I’m sure it will take a few years to learn what will grow best in this flower bed. Planting in this flower bed still isn’t easy, there are still river rocks and tree roots to contend with, but my CobraHead weeder and this Shovel have been lifesavers and back savers.
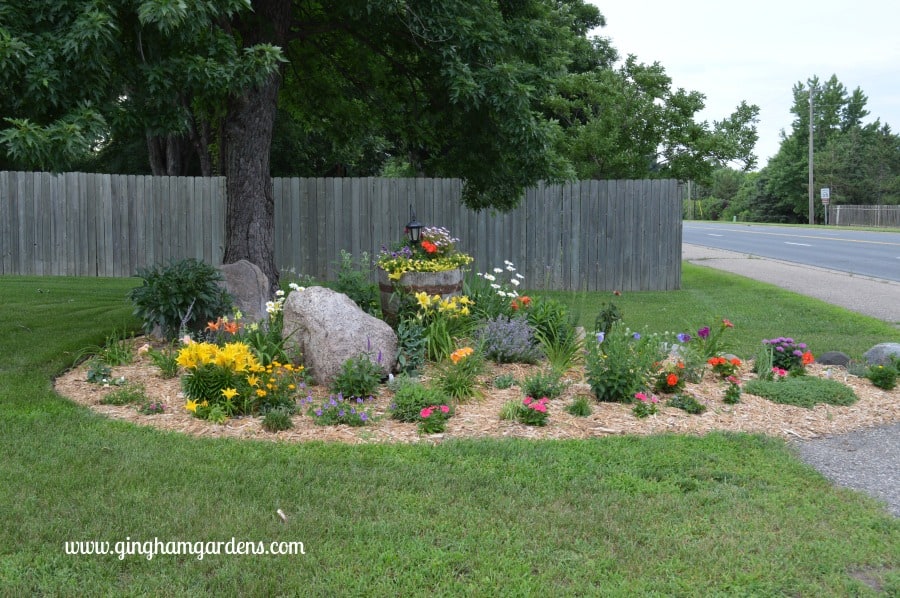
It’s kind of a crazy mess, but it looks so much better than it did. Some of the perennials include, Asiatic Lilies, several varieties of Daylilies, Bee Balm, Becky Shasta Daisies, Walker’s Low Catmint, Balloon Flower, Coneflower, Black-eyed Susan, Globe Thistle, Coreopsis and others. I also included some annual flowers for consistent color.
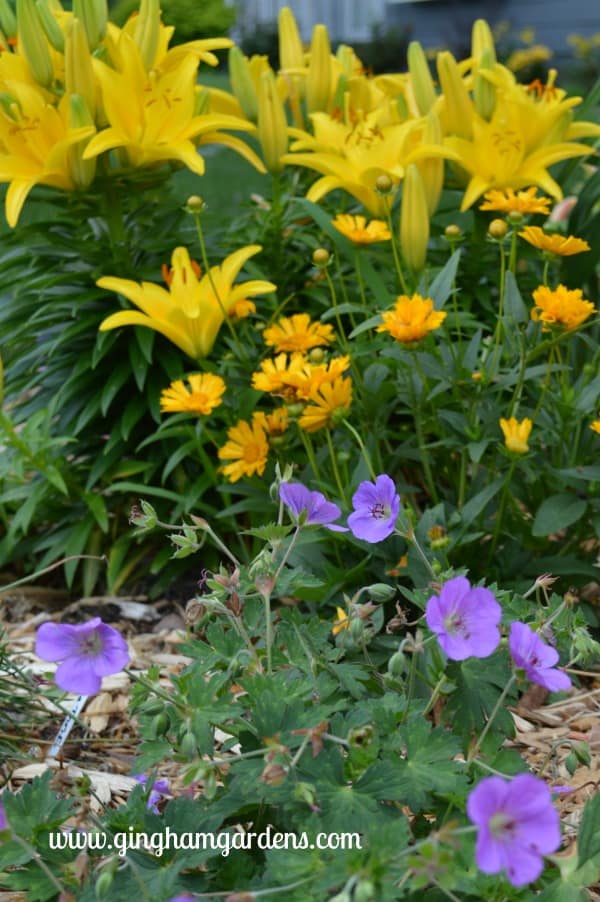
Below are a few of my favorite close-up pictures of the flower bed this year. This one includes, Yellow Asiatic Lilies, Jethro Tull Coreopsis and Rozanne Geranium.
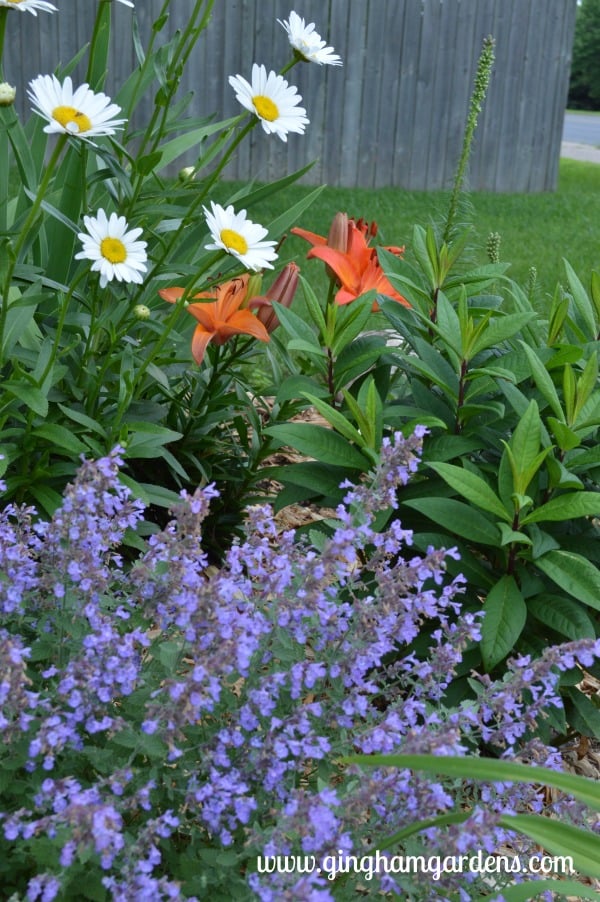
I believe I shared this picture of Walker’s Low Catmint, Becky Shasta Daisies and Orange Asiatic Lilies before, but I love it so here it is again.
Flower Garden Makeover Update
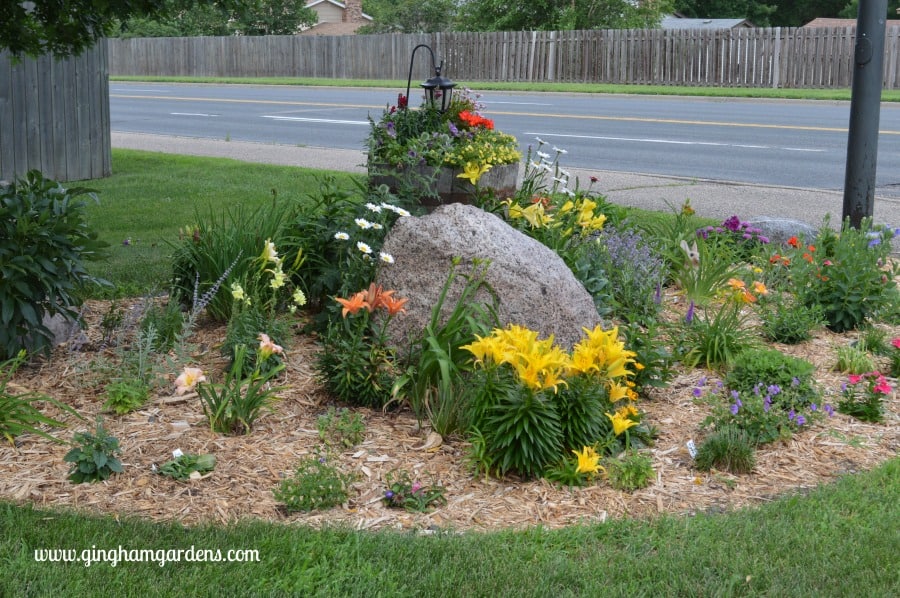
This flower bed has grown and evolved into a beautiful garden that I just had to show some updates. When I’m working in this flower bed, neighbors always stop and comment on how much they enjoy it and how beautiful it is. That being said, it’s very difficult to capture pictures of this island bed. My goal with this flower garden is to have lots of perennials blooming for all seasons and I believe I’ve succeeded. A passerby just commented to me today that she loved how there was also something blooming and something new to see.
In 2019, the 4-lane road under went major road construction. The city official in charge of the construction was kind enough to rope off my flower bed. I was still a little nervous that many of my plants would be destroyed or trampled, but luckily other than lots of trash, the plants faired okay.

In spite of the construction, I was still able to have some beauty in this flower bed. My old whiskey barrel got all the leftover annual flowers I had this summer. It still looks cute, especially with the little hanging watering can.
There are many pretty plant combinations. The Becky shasta daisies that are pictured above, did not survive the winter in this bed. Here are Asiatic lilies in the background finishing their bloom cycle, along with Walker’s Low Catmint Jr., Happy Returns and Prairie Blossoms daylilies.


I love this hot combination of blanket flowers and butterfly weed.

In 2020, we completed the border with field stones.

Later in the summer of 2020, there’s black-eyed Susan’s, yarrow, balloon flowers, coneflowers, phlox, daylilies, etc.

Spring of 2021, the alliums, irises and grape hyacinths have finished blooming and the salvia, sea thrift and cranesbill are taking over.

This is one of those gardens that will continue to evolve over time and I will definitely chronicle those changes here on the blog, so stay tuned. I hope I’ve inspired you to tackle an area of your yard that needs work. Make sure to take lots of before and after pictures, because its so gratifying to look back and see the progress.
Do you have an area in your yard that needs a redo or a good makeover? If you need help with a flower bed makeover, How to Make Over a Flower Garden, Flower Gardening 101, Flower Garden Design and Flower Garden Maintenance Tips are wonderful articles that I believe you’ll find helpful.
Thanks a bunch for stopping by Gingham Gardens today. If you enjoyed this Flower Garden Makeover, take a few minutes to check out my other makeovers – Tiered Garden Makeover, Another Garden Makeover and Shade Garden Makeover. If you have any questions or comments, please leave a comment at the bottom of the post.
Happy gardening,
Julie
p.s. Please share some this post on Pinterest by hovering in the upper left hand corner of the pictures, or pinning the collages at the bottom of the post. Thank you!
p.p.s. – Follow Gingham Gardens on Pinterest for lots of great gardening ideas and tons of gardener’s eye candy.
A few of my favorite gardening tools and decor items:
Some collages to share on Pinterest: