Easy DIY Candle Making
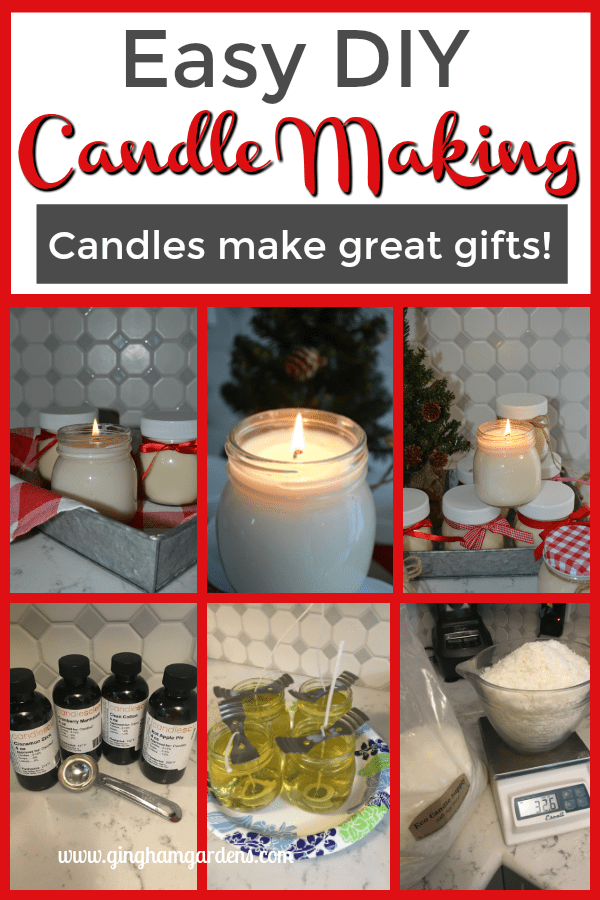
I have a super fun DIY project to share with you today – it’s Easy DIY Candle Making. It’s not my usual gardening post, but I love a fun DIY project too. Just about everyone I know loves candles, especially in fall and winter. I sure do! These candles are clean burning, smell awesome and make wonderful gifts. Each time I make them I’ve made notes, so each batch gets better and the process is getting faster and easier. I’m passing what I have learned on to you, so you don’t have to go through all the trial and error.
This post contains affiliate links. If you click on
one of the links and make a purchase,
I may receive a small commission at no additional cost to you.
See full disclosure here.
Supplies for Candle Making:
Be sure to have all your supplies ready before you start the process. It moves along fairly quickly. I will repeat this list at the end of the post for your convenience.
- Jars You can use any glass jars, but these are cute 10 oz. hexagon shaped jars.
- Soy Candle Wax Be sure to use soy wax for making candles – it’s a safe, clean burning candle wax and doesn’t pollute the air in your home.
- Candle Scents Some of the many fragrances to choose from. Try a few to see which one you like the most. Use Citronella Oil to make candles for your outdoor living space in the summer to keep the bugs away.
- Wicks (These are 100% cotton with no lead or other metals for a clean burning candle.)
- Wick Holders (You can rig something in place of these, but the real thing works so much better.)
- Extra Large Glass Measuring Cup (we use one like this)
- Scale (we use one similar to this one)
- Kitchen Thermometer
- Old newspapers or other items to protect your work surface from wax spills.
Easy Instructions for Making DIY Candles:
Before you start the process of making candles, be sure to protect your countertops and stovetop. We found that parchment paper worked the best for us. It also makes for easy cleanup.
STEP 1 – Prep your work area by laying down newspapers, or parchment paper works too. Trust me on this one, cleaning up candle wax is not fun.
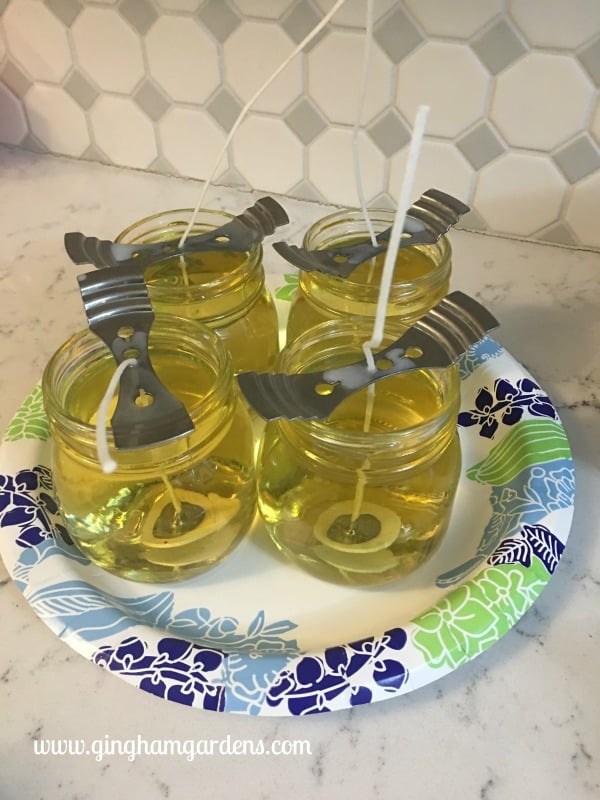
STEP 2 – Prepare the clean, dry jars by securing the wicks to the inside bottom with the little stickers that are included with the wicks.
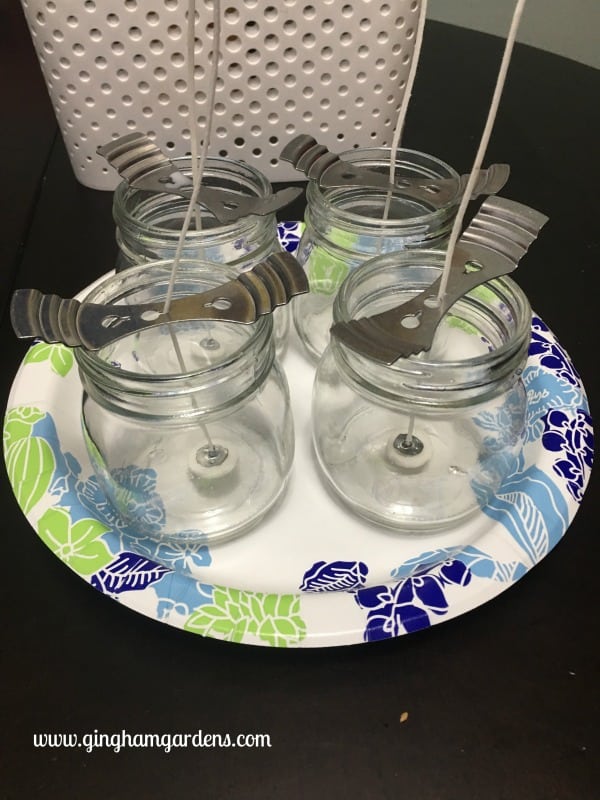
STEP 3 – Using the wick holders, pull each wick through the center of the wick holder to hold it stable. Yes, our wick holders are upside down. They worked perfectly. Lol!
STEP 4 – Next, it’s time to do some math. Our candle jars were 10 ounces each, but we wanted to leave a little room in the top of the jar, so we figured 8 -9 ounces for each candle. We made 4 candles at a time, so 4 x 8 = 32 ounces. So we weighed out between 32-34 ounces of soy wax. It’s important to note here to use a scale to weigh your wax, don’t try to use a measuring cup. Trust me, it just doesn’t work out correctly. If you don’t have a kitchen scale, you can measure, but just know that if you measure out 8 ounces of wax, when it melts it is not 8 ounces.

STEP 5 – Melt the soy wax. We used the microwave on high for one-minute intervals (stirring the wax each time) until the wax was melted. When the wax is completely melted, it will be clear. At this point, check the temperature of the wax. Ideally, it should be between 175 – 185 Fahrenheit. You can also use a candle melting pitcher to melt the wax. We have one, but we found it was quicker to use the microwave and we didn’t have to worry about getting wax on the stove top.
STEP 6 – Immediately add the essential oils or fragrance oils to the melted wax and stir. The general rule of thumb in adding the fragrance oil is 1 ounce (which is 2 tablespoons) to 16 ounces of wax. So in our case, we added 1 tablespoon of fragrance oil for each 8 ounce candle. We chose not to, but if you would like to color your candles add the candle wax dye at this point too.
STEP 7 – Let the melted wax cool to around 135 Fahrenheit. This cooling period allows the wax to bind with the fragrance oil. Using extreme caution, pour the melted, scented wax into your jars. If the wick moves, pull it straight and tight in the wick holder.
STEP 8 – Place your candles in a safe, dry place to set up.
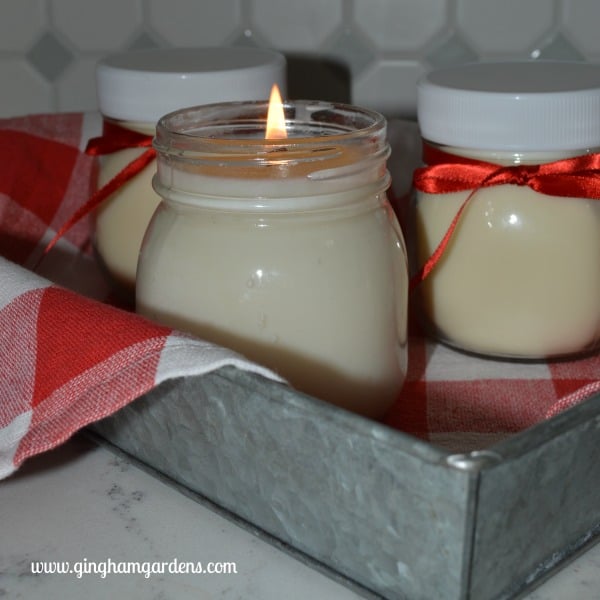
STEP 9 – Trim the wicks and place lids on the completely cooled candles.
STEP 10 – Allow the candles to cure for at least 48 hours before burning them.
Some Additional Tips for Easy DIY Candle Making:
- Make the candles in small batches. It’s much easier and safer.
- Be sure to wash your utensils before changing fragrance oils.
- Sometimes, the top of the candle may look like a crater when it’s cooled. This can be caused by the wax being either too hot or too cool when pouring. This can be remedied by melting a bit more wax and filling the craters or holes.
- Of course, use caution when handling hot wax.
That’s it, super Easy DIY Candle Making Instructions!
Do you enjoy making gifts or crafting for yourself or others? If so, I encourage you to give these DIY Candles a try. Anyone can make candles and they are easy to make in small batches too. Just a warning though, Candle-making can be addictive.
Like I said, this post is a little diversion from my regular gardening posts, but I will do some DIY posts from time to time.
Here are some more DIY posts you will enjoy:
DIY Gifts From Your Garden
How to Make Potpourri with Flowers From Your Garden
DIY Natural Christmas Decorations
I always appreciate your visit and your comments.
Julie
Here’s the Supply List again with links to the products we used. Order your supplies today and you can be making candles this weekend.
- Jars – these 8 oz. jars are a good size, or these 10 oz. hexagon jars
- Soy Candle Wax
- Candle Scents
- Wicks
- Wick Holders
- Extra Large Glass Measuring Cup
- Scale
- Kitchen Thermometer
We also added these lids and these to our candles because we wanted something different from the metal ones.
Please help me out by pinning these pictures. Simply hover in the upper left-hand corner and click the “pin” icon. There are more pins at the bottom of the page. Thanks!!!!
Follow Gingham Gardens on Pinterest for lots of great gardening ideas and tons of gardener’s eye candy.
Pins to Share: