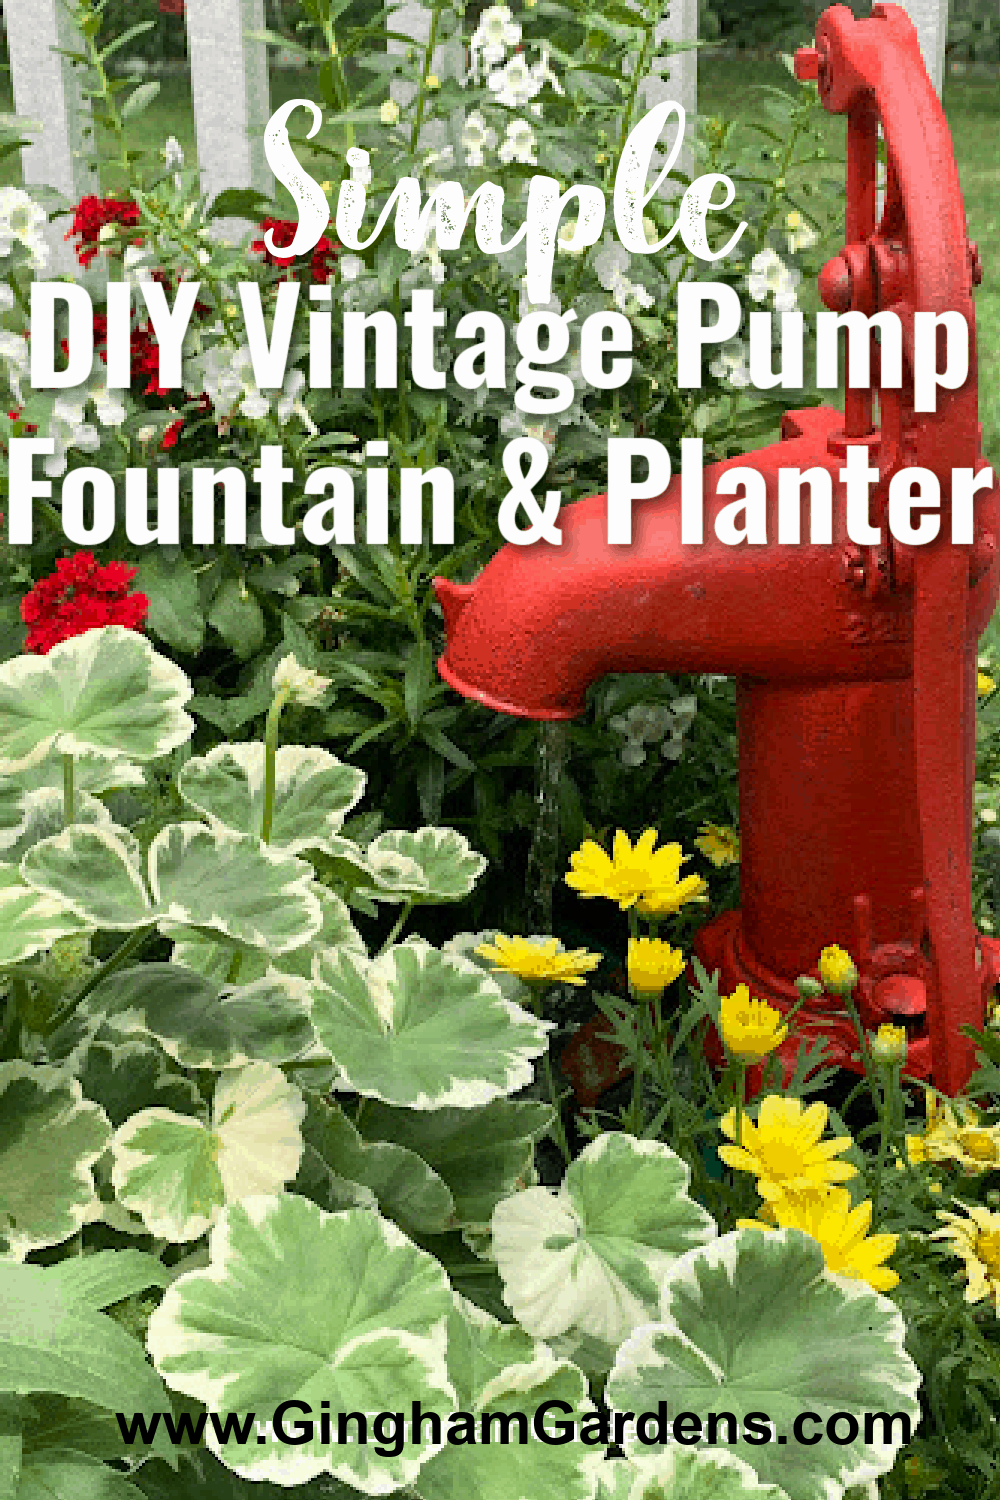
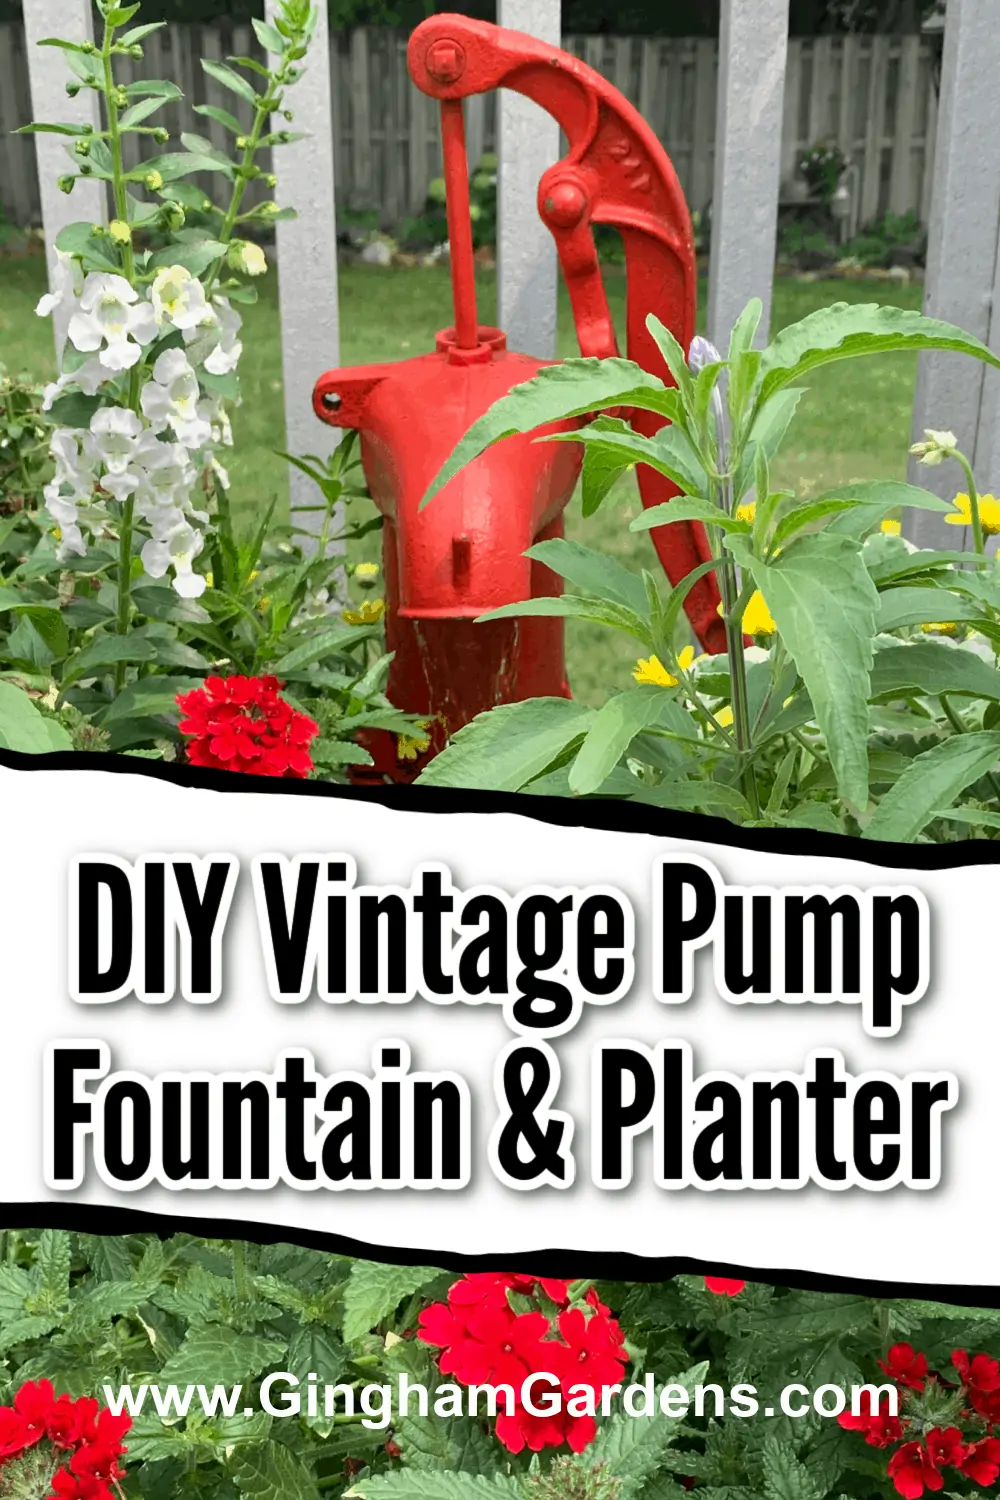
DIY Vintage Water Pump Fountain and Planter
We have the cutest DIY project for you today. Hubs and I love going to flea markets and estate sales to look at junk. Sometimes we bring home some of that junk for the gardens and I have an entire garden shed full of said junk. Lol! In this case, hubs knew I was looking for an old pump and he found one at an estate sale when he was by himself. It was really ugly with orange and brown paint splatters. He used a wire brush, cleaned it up and spray painted it red. It’s had a place in my gardens, usually in planters every year. We’ve always wanted to make a fountain out of the pump, but he had his ideas and I had mine. We finally got together this year and came up with the cutest DIY Vintage Water Pump Fountain and Planter.
This post may contain affiliate links. If you click on
one of the links and make a purchase,
I may receive a small commission at no additional cost to you.
See full disclosure here.
Supplies Needed for DIY Vintage Water Pump Fountain and Planter
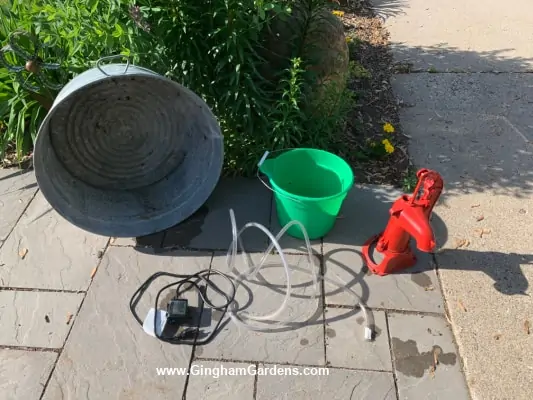
- Old vintage pump – easily found at estate sales or flea markets. Or, there’s one on Amazon for a very good price.
- Large galvanized wash tub – easily found at estate sales or flea markets or any large planter
- Bucket – size depends on the size of your wash tub. We just used a cheap one from a big box store.
- Water pump – this one includes the necessary tubing and is a great price
- Tubing
- A piece of screen material to cover the bucket
- Wire
- Duct tape
- Potting soil
- Flowers
- River Rocks
Try not to get too hung up on the exact things we used to construct our fountain and planter. Be creative and think of ways you can use junk you have laying around. That’s the beauty of a DIY project, you can make it your own.
Tools Needed for this Project:
- A drill comes in handy, but you can use a work around if you don’t have one.
- Scissors
- Utility knife
Steps for Making a Vintage Water Pump Fountain and Planter
Decide where your Vintage Pump Water Fountain Planter will reside. You need to be close to a power source. Also, you will need to know whether or not to plant shade flowers or flowers that like the sun depending if your planter will sit in the shade or sun.
Set up your supplies and tools right where you will be placing your finished planter because it can become quite heavy.
We gathered our supplies and went about working through how we could make the picture in my mind a reality. There may have been a bit of quarreling at this point.
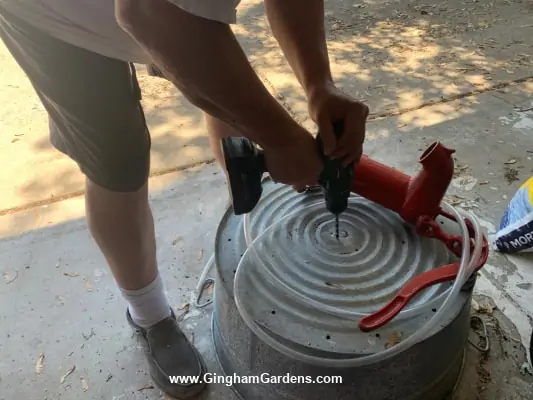
First, drill holes in the bottom of the wash tub for drainage for the plants. Drill or pound holes that are small enough so that the potting mix won’t sift through the holes, but large enough for adequate drainage.
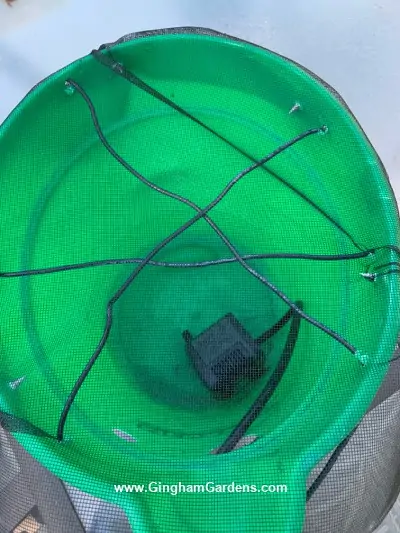
Second – cut a hole towards the top of the bucket to run the tubing and the pump power cord through. At this point go ahead and place the water pump in the bottom of the bucket. Once the tube and the power cord are pulled through the bucket, patch over the hole with duct tape. This doesn’t have to be pretty because it won’t show. It’s merely a way to keep soil from entering the water bucket.
Third – place a piece of screen over the top of the bucket and secure it around the top of the bucket with wire. Hubs crisscrossed the wire across the top of the bucket underneath the screen to give some stability to the screen, because we will be placing river rocks on it as a finishing step. This step doesn’t have to be pretty because none of this will show. There really is no rhythm or reason in securing the screen.
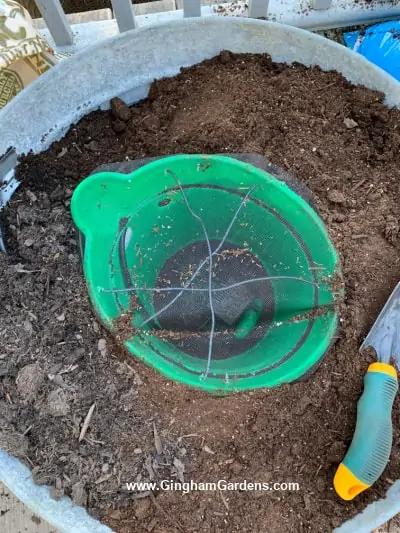
Fourth – Now it’s time to place the bucket in the wash tub. Dangle the tube and power cord over the side of the wash tub. You can decide at this point if you want to drill a hole big enough for the tube and power cord to go through the side of the wash tub, or you can simply dangle them over the top. You should be able to arrange it so they don’t show.
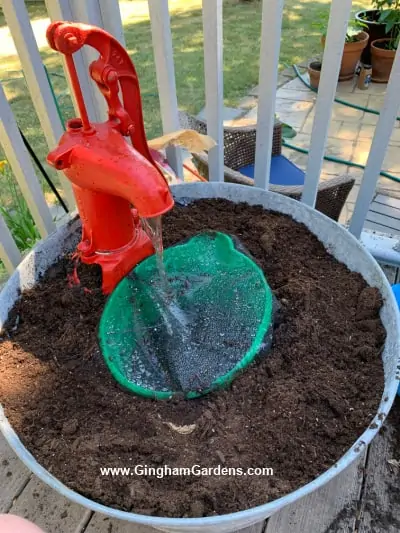
Fifth – Position the bucket and mess around with the vintage pump to get an idea of where you want to place it. At this point, go ahead and fill the wash tub with potting soil. Be careful not to get soil in the water bucket. Work around the power cord and water tubing. It’s okay to cover those with soil, just don’t pack them in tight. We did get a bit of soil in the bucket, but it hasn’t affected our water pump operation.
Sixth – run the water tubing through the vintage pump. Cut the tubing so it sits just inside the vintage pump, but leave a bit of extra tubing in the water bucket. We fastened the tubing with E6000 in a few places, so that it would not slip back down the inside of the vintage pump. That way if you need to adjust the height of the pump later, you will have enough play in the length of the tubing. Now put the pump in place. Ours sits nicely on top of the soil. If it needs to be raised up a little higher once the plants start filling in, we can just lift it up a little and put a board under it. The antique pump we used is very heavy so no worries about it blowing over.
Seventh – go ahead and add water to the bucket through the screen on top and plug the water pump in. Make any necessary adjustments to the water flow. Use duct tape to secure the water tubing inside the vintage pump if need be.
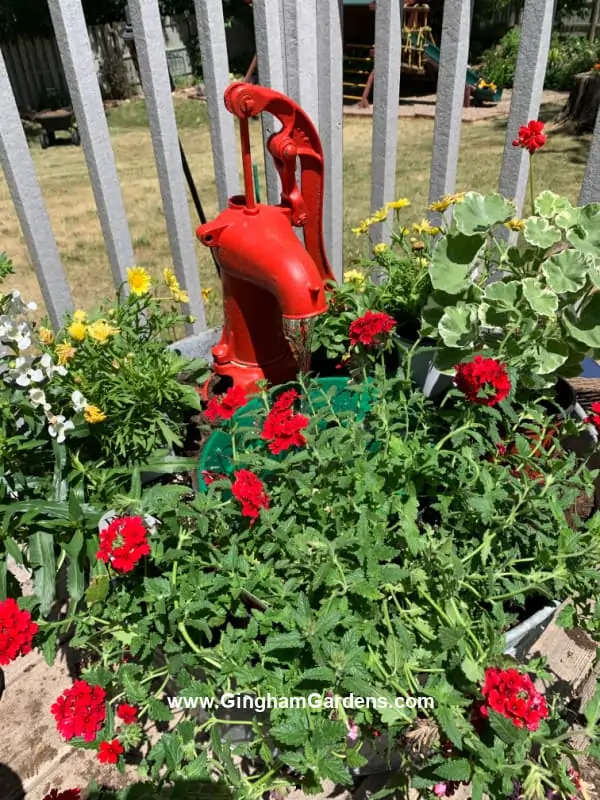
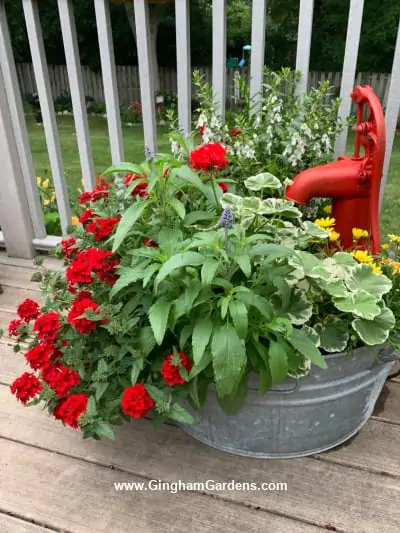
Eighth – now it’s time to add the flowers. I like to arrange my plants on top of the soil to get an idea of placement. Then I’ll step back and take a look and make any adjustments. I planted the tallest flowers in the back by the pump, the medium height flowers on the sides of the wash tub and then the spiller plants in front. I used Angelonia, geranium, marguerite daisies, Victoria salvia and trailing verbena. Take care not to get soil in the water bucket as you are planting. You can also make any necessary placements of the pump power cord and the water tubing while you are planting.
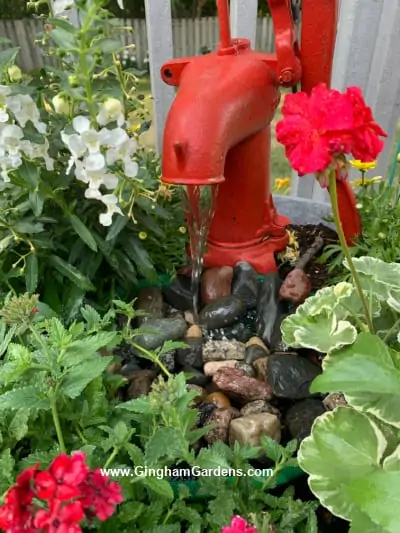
We covered the screen on top of the bucket with river rock.
A few tips for plant selection. In hindsight, I wish I had not added such tall plants. The Angelonia and the Salvia grew tall and are overshadowing the vintage pump. And, the marguerite daisies didn’t get as tall as the tag said they would get. I think next year I will go with plants that will just fill in and drape over the sides of the wash tub, like calibrachoa, supertunias, trailing verbena or other spiller type plants. Still even with my not perfect plant selection, I love the way this DIY Vintage Water Pump Fountain and Planter turned out.
Here’s a side view of the fountain planter a few weeks later when the plants are filling in (or taking over).
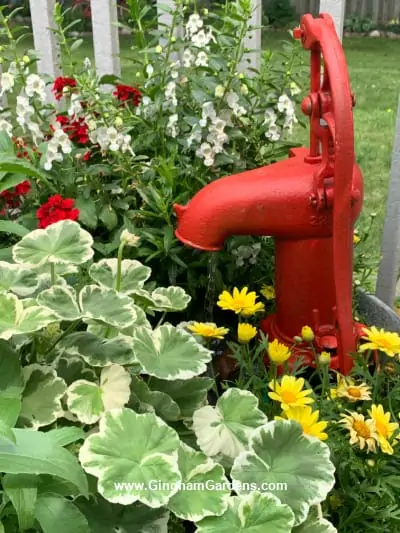
A close up of the pump. It’s so stinking CUTE!
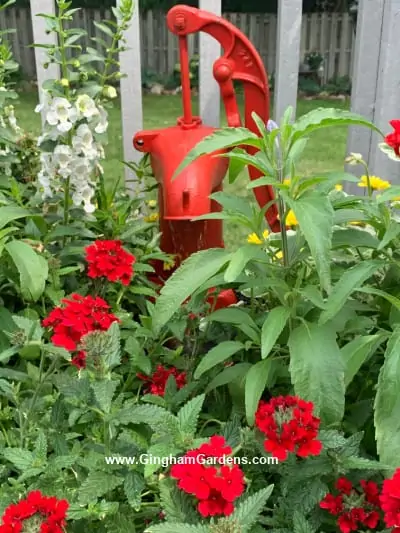
And… one more picture.
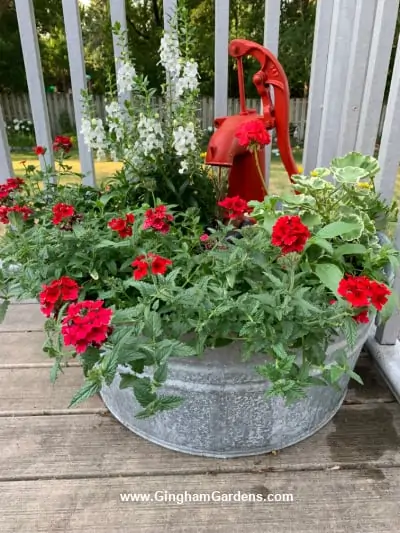
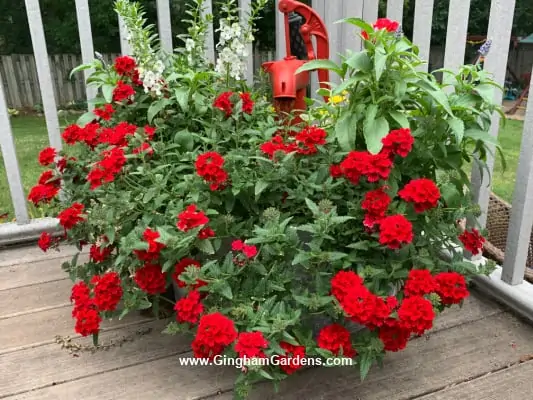
Okay, this is the final picture. The trailing verbena has gone crazy and you can’t even see the galvanized wash tub. We love the way it turned out and love the sound of trickling water when we’re sitting on our deck.
What do you think? Are you going to make your own DIY Vintage Water Pump Fountain and Planter? If you have any comments or questions on our tutorial, please leave a comment below.
Happy gardening,
Joanna
In case you want to do this project right away, you can order the parts on Amazon and have them delivered right to your door.
p.s. Share this post on Pinterest. Pins are below. Thank you!
p.p.s I’d love to have you follow me on Pinterest. Lots of great gardening ideas and tons of gardener’s eye candy. Gingham Gardens is on Facebook too.
Pins to Share:

